Password Managers for Beginners: How to Start Without Losing Access
A practical beginner's guide to setting up a password manager, choosing a master password you won't...

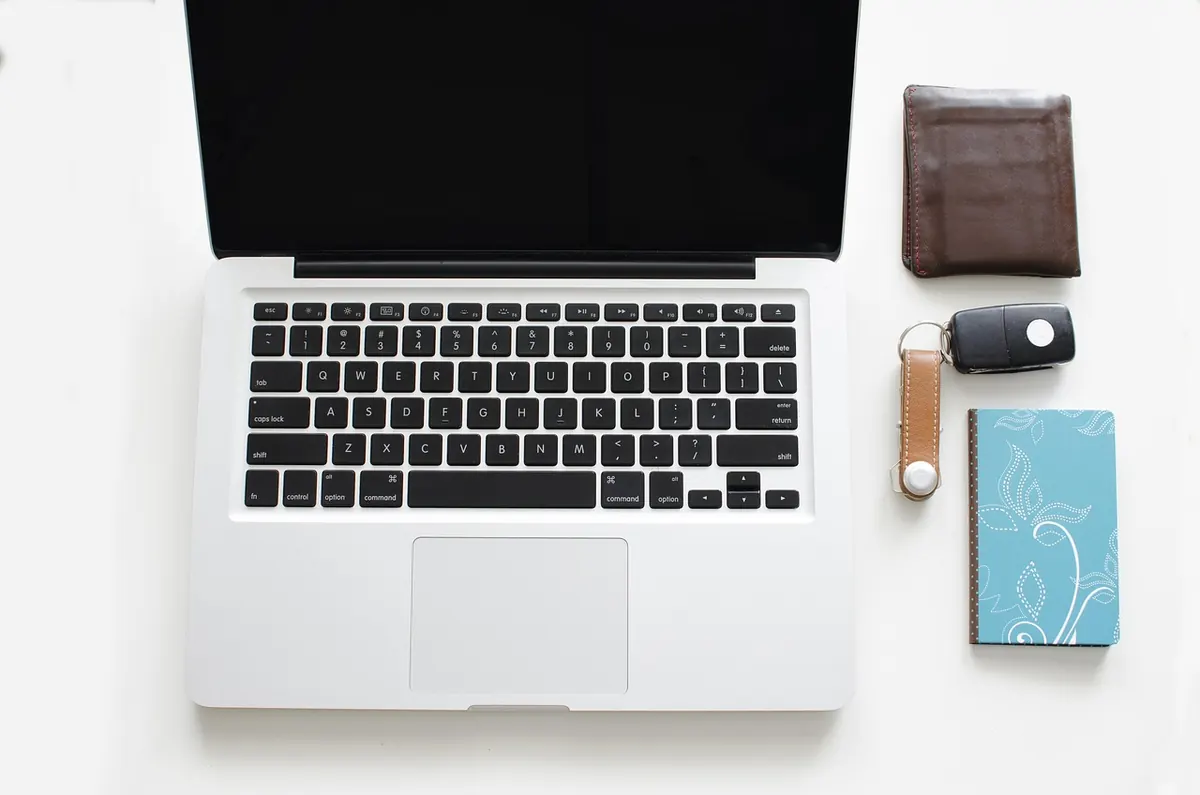
Your laptop takes more abuse than anything else you own. Coffee mists, fingerprints, crumbs, dust from a bag that has never once been cleaned out. So you wipe it down, which seems like the simplest chore in the house — and that confidence is exactly where things go wrong. Most of us reach for whatever is under the sink and go to work.
The trouble is that the obvious tools are the ones that leave permanent damage: dulled screen coatings, micro-scratches you only notice in sunlight, a keyboard with three keys that no longer click. Here are the seven mistakes worth avoiding, and what to do instead.
Household glass cleaners usually contain ammonia; many also carry alcohol or other solvents. Displays wear thin surface coatings — anti-glare, anti-reflective, and an oleophobic layer that repels the oil from your fingertips — and those coatings are not tough. Ammonia and strong solvents can dull or strip them, which shows up as patchy shine or a screen that picks up fingerprints faster than it used to. Vinegar is acidic. Bleach and acetone are worse. If the label says it is meant for windows, mirrors, or countertops, keep it off the panel.
What to use instead: distilled water on a microfiber cloth handles most smudges. For something stronger, use a cleaner sold specifically for displays and follow its instructions, or a lightly diluted isopropyl alcohol applied to the cloth. Test any new product on a small corner of the screen first.
Even a screen-safe cleaner becomes a problem when you spray it at the panel. Liquid runs down the glass, pools in the bezel, and wicks into the display assembly or drips onto the keyboard below. Streaks are the mild outcome. A stained panel or a shorted display is the expensive one.
Spray the cloth until it is damp, not dripping, then wipe. Wring it out if you overdid it. A slightly damp cloth cleans better than a wet one anyway.
Paper towels and tissues are made of wood fiber, which is abrasive at a microscopic level. They leave fine scratches that scatter light and make a screen look hazy after a year of cleaning. They also shed lint that finds its way into the hinge and under the keycaps. Your shirt sleeve is no better — it carries dust that acts like sandpaper.
Keep two microfiber cloths for the laptop: one damp for the screen, one dry for the follow-up pass. Wash them without fabric softener, which leaves a film that smears, and replace them once they feel gritty.
Pressure does not clean; moisture and the right cloth do. Pushing down on a panel can create pressure marks that look like bright spots, and in a bad case, a crack. It can also force liquid sideways into the bezel, where you cannot dry it.
Wipe in light, overlapping strokes. If a spot will not budge — a dried drink splash, a sneeze — dampen the cloth a little more, hold it against the spot for a few seconds, then wipe gently. If it still will not come off, stop. Some marks sit under the coating, not on it, and no amount of rubbing will reach them.
This is the mistake that costs the most. Keyboards are not sealed. Liquid that slips under a keycap reaches the membrane or the switch mechanism, where it causes sticky keys, corrosion, or a dead row three days later. Some machines have spill channels; most consumer laptops do not, and even those that do are not rated for a soaked surface.
A safer approach:
Never pour or spray anything directly onto the keys, and skip disinfecting wipes unless the manufacturer says they are safe. Some leave a residue that makes keycaps slick and gummy.
Ports collect lint, and compressed air aimed straight into a USB-C or charging port mostly drives that lint deeper against the contacts. A household vacuum cleaner is worse: the airflow can build static with nowhere useful to go. Metal objects — paper clips, a SIM tool, a pin — scratch the plating and bend the pins you are trying to protect.
Use a soft brush or a bulb blower to lift dust out of the opening, angled so debris falls away rather than in. If you can see a compacted felt of lint in a charging port, a wooden toothpick worked gently along the wall of the port can lift it. The moment it feels like scraping, stop. And if a port is already failing, that is a repair job, not a cleaning job.
Clean a laptop while it is powered on and you are working against yourself. The screen is lit, so streaks are invisible, and a stray touch on the trackpad or a pressed key can trigger something you did not intend. Shut down, unplug the charger, and move the machine off any soft surface.
Then be patient at the end. Let everything dry completely before closing the lid — a few minutes for a barely damp screen, longer if you used more liquid than you meant to. A damp lid traps moisture against the panel and the keyboard at the same time.
Once a week, or whenever the screen looks greasy, run through this:
The rest is habit. Eat somewhere other than over the keyboard, keep drinks on the far side of the desk, and stop carrying the laptop in a bag full of crumbs and grit. A folded microfiber cloth lives happily in a sleeve pocket, and using it often is what keeps a screen clear and a keyboard clicking. Ten minutes of care every week is far cheaper than a replacement panel or a new keyboard assembly.
Photo: Goumbik / Pixabay
A practical beginner's guide to setting up a password manager, choosing a master password you won't...
Cold slows the chemistry inside lithium-ion cells, so your phone misreads its own charge and shuts down...
Budget active noise cancellation handles train rumble and bus drone surprisingly well, but comfort, call...